Best terminal setup
Dhruv Gursahani / Oct 26, 2022
3 min read • ––– views
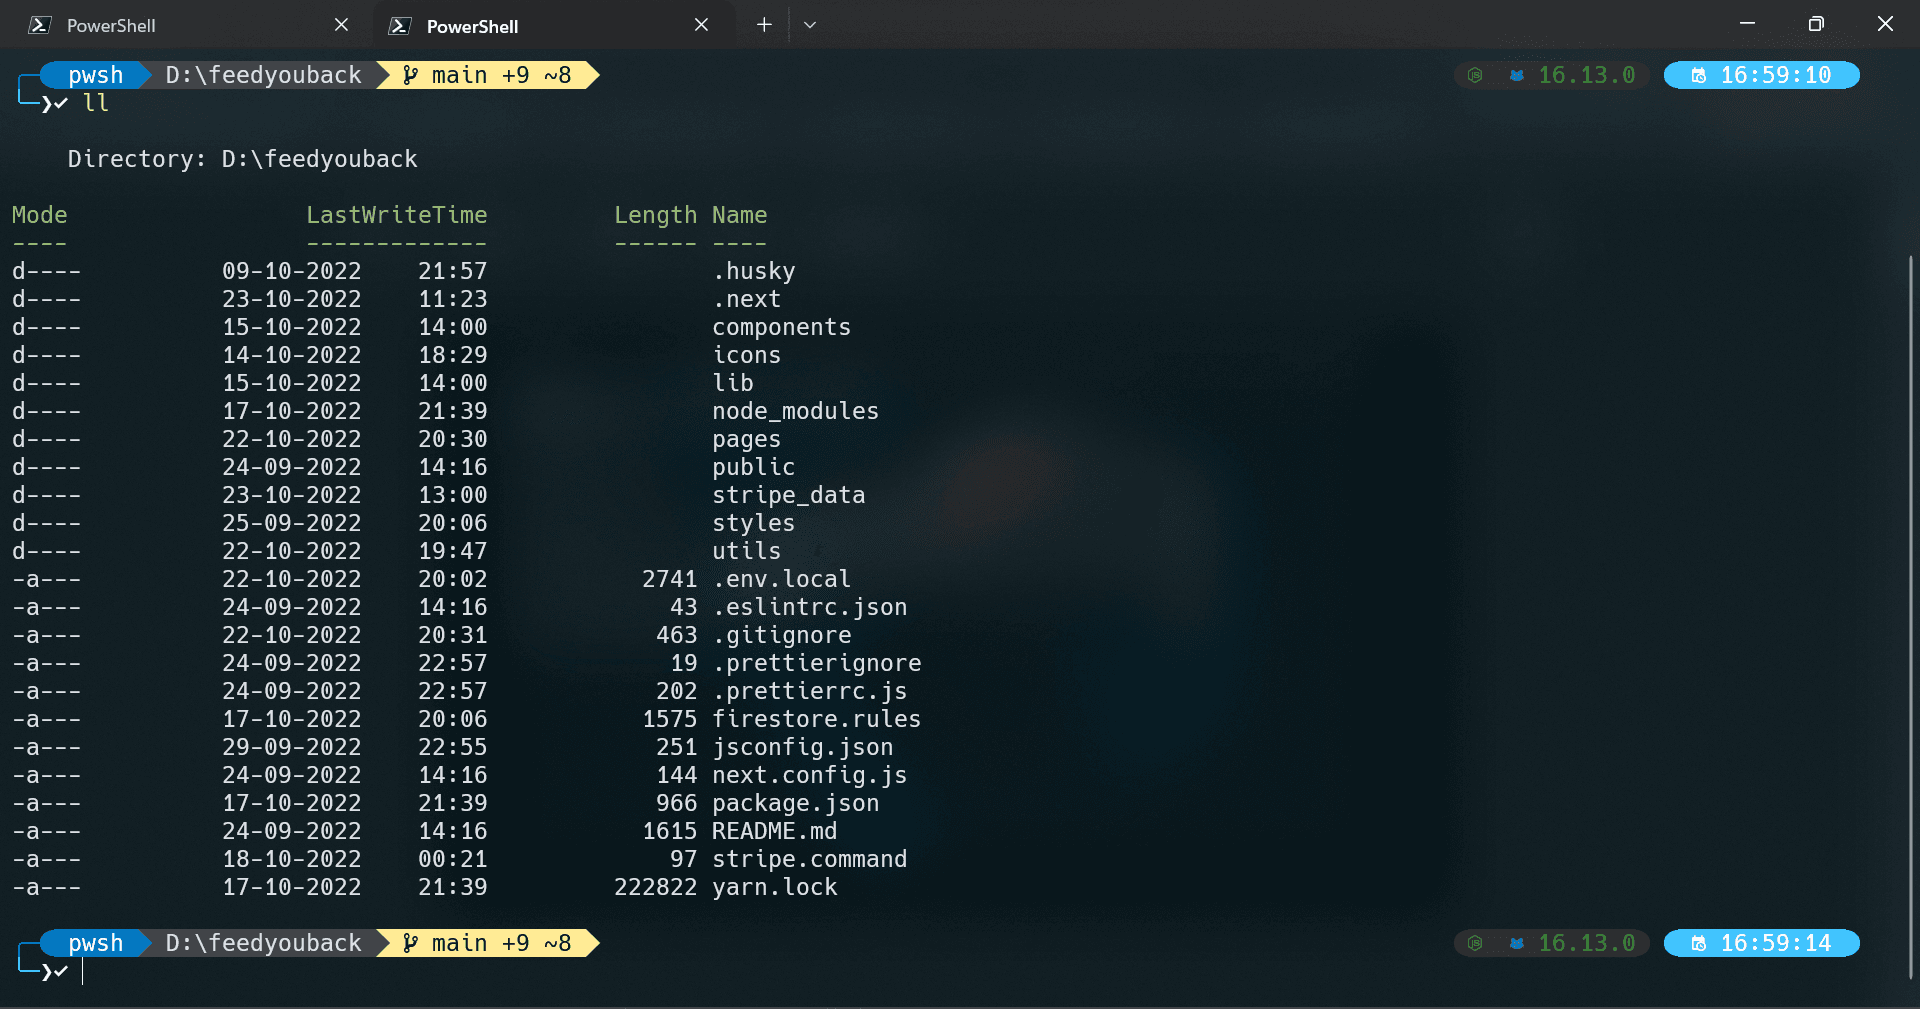
Table of contents 📃
This setup is made for Windows 10 devices
- PowerShell
- Scoop
- oh-my-posh
- Terminal Icons
- PSReadLine
- z
- Neovim (Optional)
- Useful Npm packages
- Useful powershell scripts
For my complete theme and configurations take a look at my dotfiles repository
PowerShell
PowerShell is the best starting point for the terminal. To install it go to the Microsoft store, search for "PowerShell" click install. (Quicklink)
To get a better structured terminal install the Windows Terminal which manages your different installed terminals. Available at the Microsoft store as well. (Quicklink)
After this u need to install any Nerdfont to display special characters in your terminal. If you dont know anything about these I would recommend "MesloLGL Nerd Font". (Quicklink)
Scoop
Scoop is a package manager for windows To install it run the following commands in your new PowerShell environment:
# Optional: Needed to run a remote script the first time
> Set-ExecutionPolicy RemoteSigned -Scope CurrentUser
> irm get.scoop.sh | iex
oh-my-posh
To make your terminal prompt look better install oh-my-posh with the following command:
> scoop install https://github.com/JanDeDobbeleer/oh-my-posh/releases/latest/download/oh-my-posh.json
After this add the following to your PowerShell profile. You can find your profile with open $PROFILE or code $PROFILE
if you have vscode installed.
oh-my-posh init pwsh | Invoke-Expression
Terminal Icons
Terminal Icons adds some icons to your ls command. Install it with:
> Install-Module -Name Terminal-Icons -Repository PSGallery
and add the following line to your profile:
Import-Module Terminal-Icons
You can try it out after a reload. Type ls to see the icons.
PSReadLine
One of the most powerfull tools for PowerShell is PSReadLine. It adds autocompletion to speed up your workflow a lot.
> Install-Module PSReadLine
And again enable it in your profile config:
Set-PSReadLineOption -PredictionSource History
Set-PSReadLineOption -PredictionViewStyle ListView
z
z is a improved version of the cd command. You can jump from every folder to any other just by typing z your-folder-name.
Install it with:
> Install-Module -Name z
Neovim (Optional)
> This one is only for more experienced people. If you are new to programming you can probably skip this.
Neovim is a way to speed up your workflow by editing your code inside your terminal.
Install it with scoop:
scoop install neovim
For a starter configuration I recommend the AstroNvim config
Useful Npm packages
Here is a list of useful packages I use often:
- @angular/cli
- npm-check-updates
- prettier
- serve
- tree-sitter-cli (For neovim)
- typescript
- yarn
- nvm
- speed-test
Useful PowerShell scripts
Here is a list of useful PowerShell scripts I recommend to add to your profile
aliases
Set-Alias v nvim
Set-Alias g git
Set-Alias y yarn
Set-Alias ll ls
Set-Alias touch New-Item
which
To get the execution path of any program.
function which ($command) {
  Get-Command -Name $command -ErrorAction SilentlyContinue |
    Select-Object -ExpandProperty Path -ErrorAction SilentlyContinue
}
transfer
Upload a file or folder to directly share it in seconds
function transfer ($file) {
    curl -H "Max-Downloads: 1" -H "Max-Days: 5" --upload-file $file https://transfer.sh/$file
}
shortcuts
Insert commands by adding Shortcuts
Set-PSReadLineKeyHandler -Chord Ctrl+q -ScriptBlock {
    [Microsoft.PowerShell.PSConsoleReadLine]::RevertLine()
    [Microsoft.PowerShell.PSConsoleReadLine]::Insert('exit')
    [Microsoft.PowerShell.PSConsoleReadLine]::AcceptLine()
}
Conclusion 🔚
I hope you liked my setup. If you have any improvements send some feedback ❤
Comments